Overview
Before purchasing a cargo lift, many buyers want to understand the installation process first. A good installation plan can save time, avoid rework, and reduce the risk of unstable operation. GP LIFT has prepared detailed installation guidance for each model so the process is easier to follow.
A guide-rail hydraulic cargo lift is a significant investment. Correct installation directly affects safety, lifting accuracy, and long-term reliability. This step-by-step guide walks through the full installation sequence, from site preparation to the final load test, so you know exactly what to expect on site.
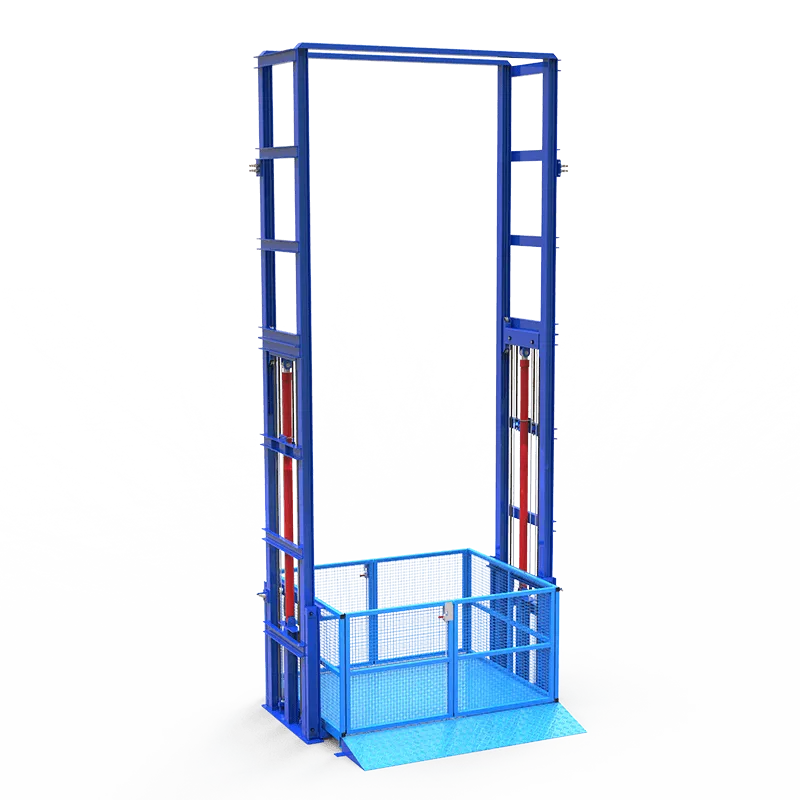
Pre-Installation Checklist
Before the installation crew arrives, confirm the following:
- Site clear and level: The pit or floor area must be clean, flat, and free of debris.
- Power supply ready: Verify the required voltage (typically 380V / 415V 3-phase) is available at the machine position.
- Access path clear: Ensure the guide rails, platform, and hydraulic station can be moved into the building.
- Lifting tools available: Forklift, crane, or hoist may be needed to position heavy components.
- Crew and safety gear: Assign qualified installers and provide helmets, gloves, and safety harnesses where required.
Site Preparation
Start by clearing the installation area. The guide rail pit or flat floor surface should be clean, level, and free of debris. Keep enough space around the structure for safe assembly and adjustment. If a pit exists, verify its depth (usually 200–250mm) and check that the pit floor is level and reinforced.
Step 1: Assemble the Lifting Platform
Install the safety fence and secure the platform in the required position. Keep enough clearance from the wall and door opening to allow the guide rail structure to fit properly. Fix the platform structure firmly so it does not shift during rail alignment.
Step 2: Position the Guide Rails
Lift the guide rails into place and move them to the specified location. The pulleys on the platform should align with the guide rails. Place the base plate under the guide rail bottom and keep the rails stable before final fastening. Use temporary supports to hold the rails in position while you check alignment.
Step 3: Adjust Alignment
Use a plumb line or measuring tools to confirm the guide rails are vertically aligned. Correct vertical alignment is critical — even a few millimeters of offset can cause the platform to bind or shake during travel. After final adjustment, secure the bottom plate and weld the guide rails firmly to the wall or support structure.
Step 4: Connect the Hydraulic System
Connect the lifting chains, cables, hydraulic oil piping, cylinder, and pump station. Then connect the main power supply and check all cables and joints. Ensure the hydraulic station is positioned per the design and that oil levels are correct before first operation.
Step 5: No-Load Test
Run a no-load test first. If the platform shows shaking or unstable movement, adjust the alignment before proceeding. Confirm that the platform travels smoothly through its full range and stops cleanly at each level.
Step 6: Set Limiters
Place the limiters according to the actual lifting height and floor positions so the platform stops at the correct level. Adjust the top and bottom limit switches so they trip reliably at the intended positions.
Step 7: Load Test
After the no-load test, perform a test load on the platform and repeat the operation several times. Confirm that all parts are stable, firmly installed, and working correctly. Verify the emergency stop, safety interlock doors, and overload alarm function as expected.
Common Installation Mistakes to Avoid
Learn from common pitfalls to ensure a smooth installation:
- Skipping alignment checks: Even minor rail misalignment causes shaking and premature wear.
- Incorrect hydraulic oil level: Too little oil starves the pump; too much causes overheating.
- Ignoring power supply verification: Wrong voltage can damage the motor or prevent operation.
- Rushing the load test: A thorough, repeated load test is essential before handover.
- Neglecting safety device testing: Emergency stop and interlocks must be verified every time.
Post-Installation Handover
Once the load test passes, complete the handover:
- Operator training: Explain daily operation, control panel usage, and emergency procedures.
- Maintenance schedule: Provide the recommended monthly and annual maintenance checklist.
- Documentation: Hand over installation records, test results, and warranty information.
- Contact support: Confirm the service team contact for future technical support.
Conclusion
A correctly installed cargo lift will improve vertical transport efficiency and create a more reliable working environment. If your project needs factory support or installation advice, GP LIFT can help you review the site layout and recommend the right installation plan. Remote technical installation guidance is also available to support your local crew.
FAQ
How long does it take to install a cargo lift?
Installation time varies by model and site, but a standard guide rail cargo lift can usually be installed within 1–3 days with proper preparation.
What site preparation is needed before installing a cargo lift?
Clear the installation area, ensure a clean level floor or pit, and keep enough space around the structure for safe assembly and adjustment.
Do I need professional installers to set up a cargo lift?
Yes, professional installation is recommended for safety. GP Lift provides remote technical installation guidance and detailed instructions.