Introduction
A successful cargo lift installation starts long before the equipment arrives on site. Proper preparation prevents delays, avoids costly rework, and ensures the lift operates safely from day one. This checklist covers everything you need to confirm before installation begins.
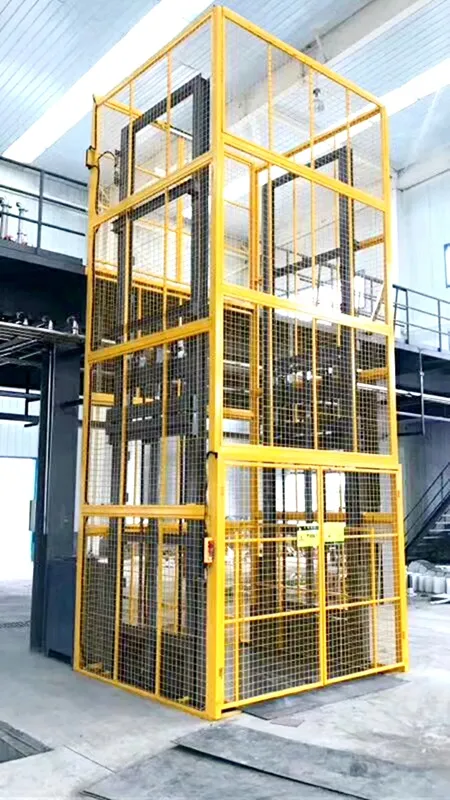
Pre-Installation Checklist
1. Confirm Site Dimensions
Measure the shaft opening, floor height, and available space around the installation area. Confirm the platform size and travel height match your site layout.
2. Check Floor Strength
The floor and pit must be able to support the lift’s weight plus the maximum load. Verify the concrete strength and reinforcement meet the manufacturer’s requirements.
3. Prepare the Pit (If Required)
If your cargo lift requires a pit (typically 200–250mm deep), ensure it is:
- Clean and free of debris.
- Level and properly drained.
- Reinforced to the required specification.
4. Verify Power Supply
Confirm the available power supply matches the lift’s requirements. Industrial cargo lifts typically run on 380V/415V 3-phase, but can be customized for other voltages. Arrange for a dedicated power line if needed.
5. Clear the Access Path
Ensure the guide rails, platform, and hydraulic station can be moved into the building. Check doorways, corridors, and any height restrictions.
6. Arrange Lifting Equipment
A forklift, crane, or hoist may be needed to position heavy components. Arrange for these tools in advance.
7. Prepare the Crew
Assign qualified installers and confirm they have the required safety equipment, including helmets, gloves, and harnesses.
During Installation
8. Assemble the Platform Securely
Install the safety fence and secure the platform firmly before proceeding with rail alignment.
9. Position and Align Guide Rails
Use a plumb line or measuring tools to ensure the guide rails are vertically aligned. Correct alignment is critical for smooth operation.
10. Connect the Hydraulic System
Connect the cylinder, power unit, chains, and piping. Check all connections for leaks and correct oil levels.
11. Wire the Control System
Connect the control panels and limit switches at every level. Verify all electrical connections are secure.
After Installation
12. Run No-Load Tests
Test the lift without load first, checking for smooth travel, correct stopping, and stable operation.
13. Perform Load Testing
Test with a rated load and repeat operation several times. Verify emergency stop, interlocks, and overload alarm functions.
14. Train Operators
Provide operator training covering daily operation, control usage, and emergency procedures.
15. Complete Documentation
Hand over installation records, test results, warranty information, and the maintenance schedule.
Why Preparation Matters
Taking the time to prepare properly before installation saves money and prevents problems. A well-planned installation is faster, safer, and results in a lift that operates reliably for years.
GP LIFT provides free CAD and 3D drawings, factory inspection before shipment, and remote technical installation guidance to support your project from start to finish.
FAQ
What site preparation is needed before installing a cargo lift?
The pit or floor must be level and reinforced, the area must be clear of debris, and enough space must be available for assembly and safe access.
What power supply does a cargo lift need?
Most hydraulic cargo lifts require 380V/415V 3-phase power, but voltage and frequency can be customized to match your local supply.
How long does cargo lift installation take?
A standard guide-rail cargo lift can usually be installed within 1-3 days, depending on site conditions and model complexity.